 Customer walkthrough guide
Customer walkthrough guide
Customer walkthrough guide
There are several ways a customer can be added to the portal. Each one leads to the same short setup, and the portal then sends email updates as samples move through the lab. This guide covers every entry point, every screen in the setup, and every email that goes out.
There isn't a single "sign‑up." There are three entry points a customer can come through — but all three lead to the same short setup form and end the same way: an active account and a welcome email.
A current customer can add a teammate from their settings, and a lead from HubSpot can be recorded in our system as a prospect before anyone is invited. Both are covered below.
The full picture on one page. The first three are the entry points that lead into setup; the last three are special cases.
| The situation | Who initiates it | Do they fill out the setup form? | Emails they get |
|---|---|---|---|
| 1. Brand‑new customer We reach out first. | beaconpoint staff | Yes — the 4 steps | Invite → Welcome |
| 2. Already a lab customer They're in QBench, not the portal yet. | beaconpoint staff | Yes — pre‑filled | Invite → Welcome |
| 3. They accept a quote A proposal they sign online. | The customer | Yes — pre‑filled | Invite → Welcome |
| 4. Adding a teammate A coworker joins an existing account. | The customer (or staff) | No | Invite → Welcome |
| 5. A lead from HubSpot A name comes in from marketing. | Automatic | No | None yet |
| 6. Staff creates one manually Older, rarely‑used path. | beaconpoint staff | Staff fills it | None |
No matter which entry point a customer comes through, this is where they land. The form collects a few details and takes about five minutes.
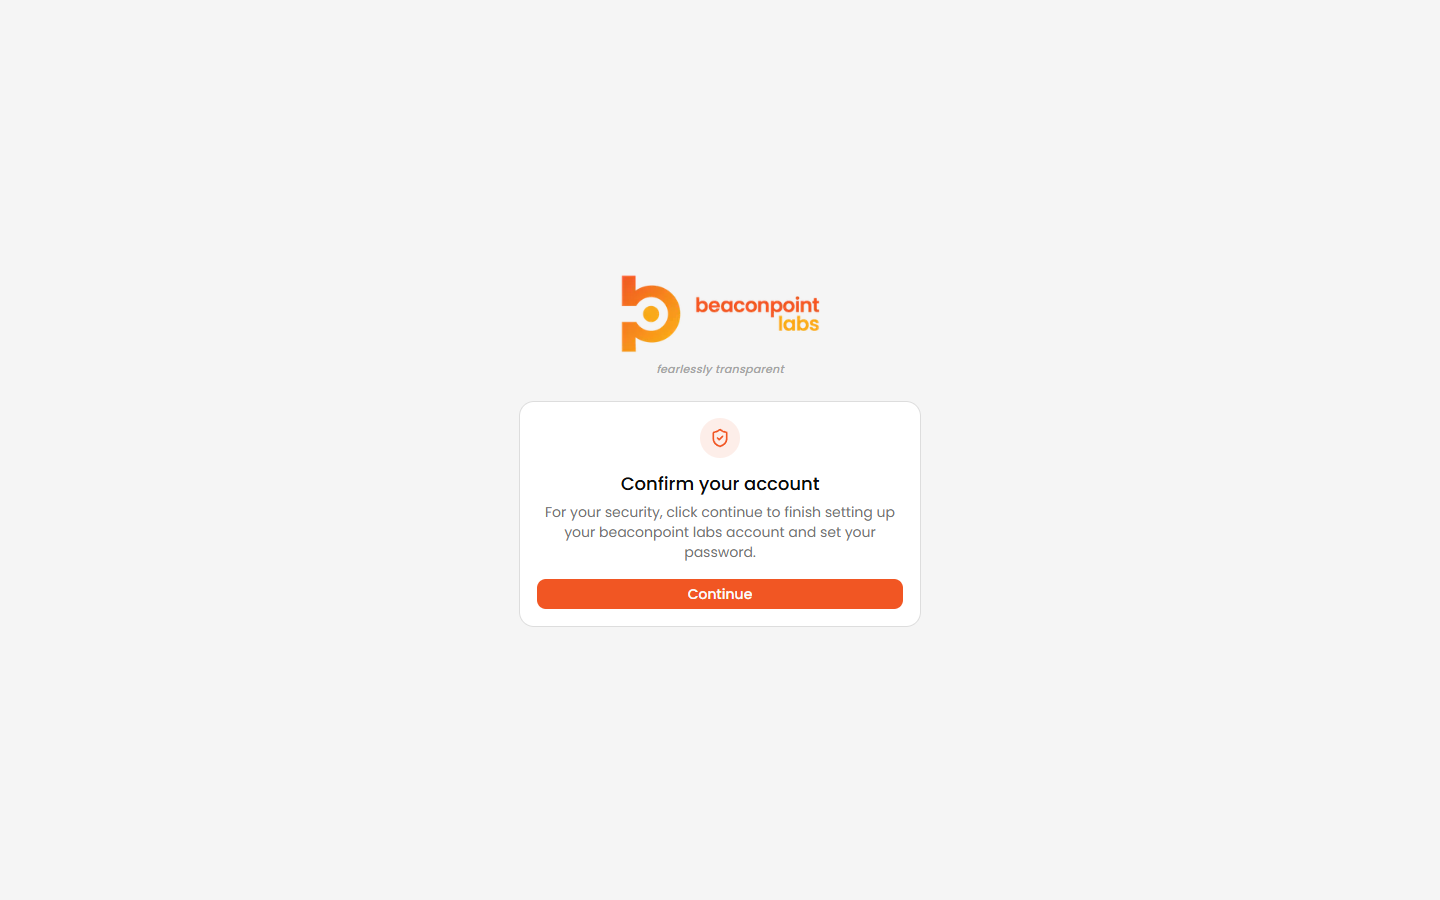
When we invite someone, they get an email with a button. Clicking it brings them to this screen, where they set a password and confirm their account.
The form walks them through four steps, with a progress bar at the top showing how far along they are.
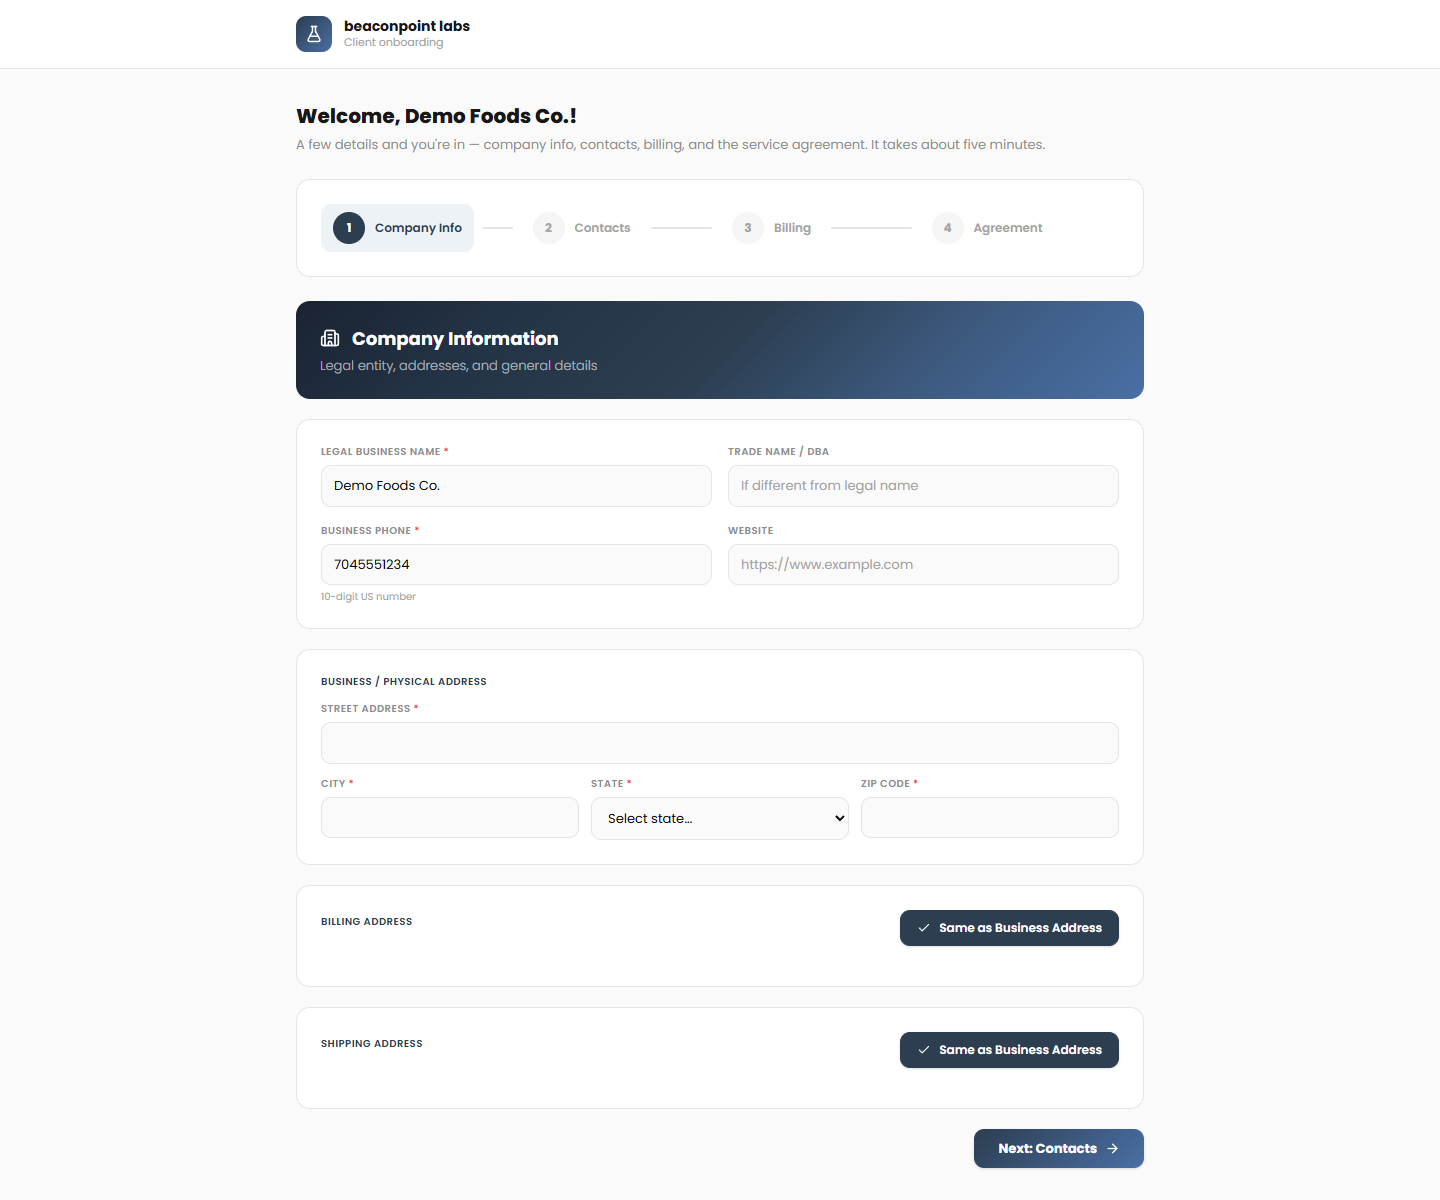
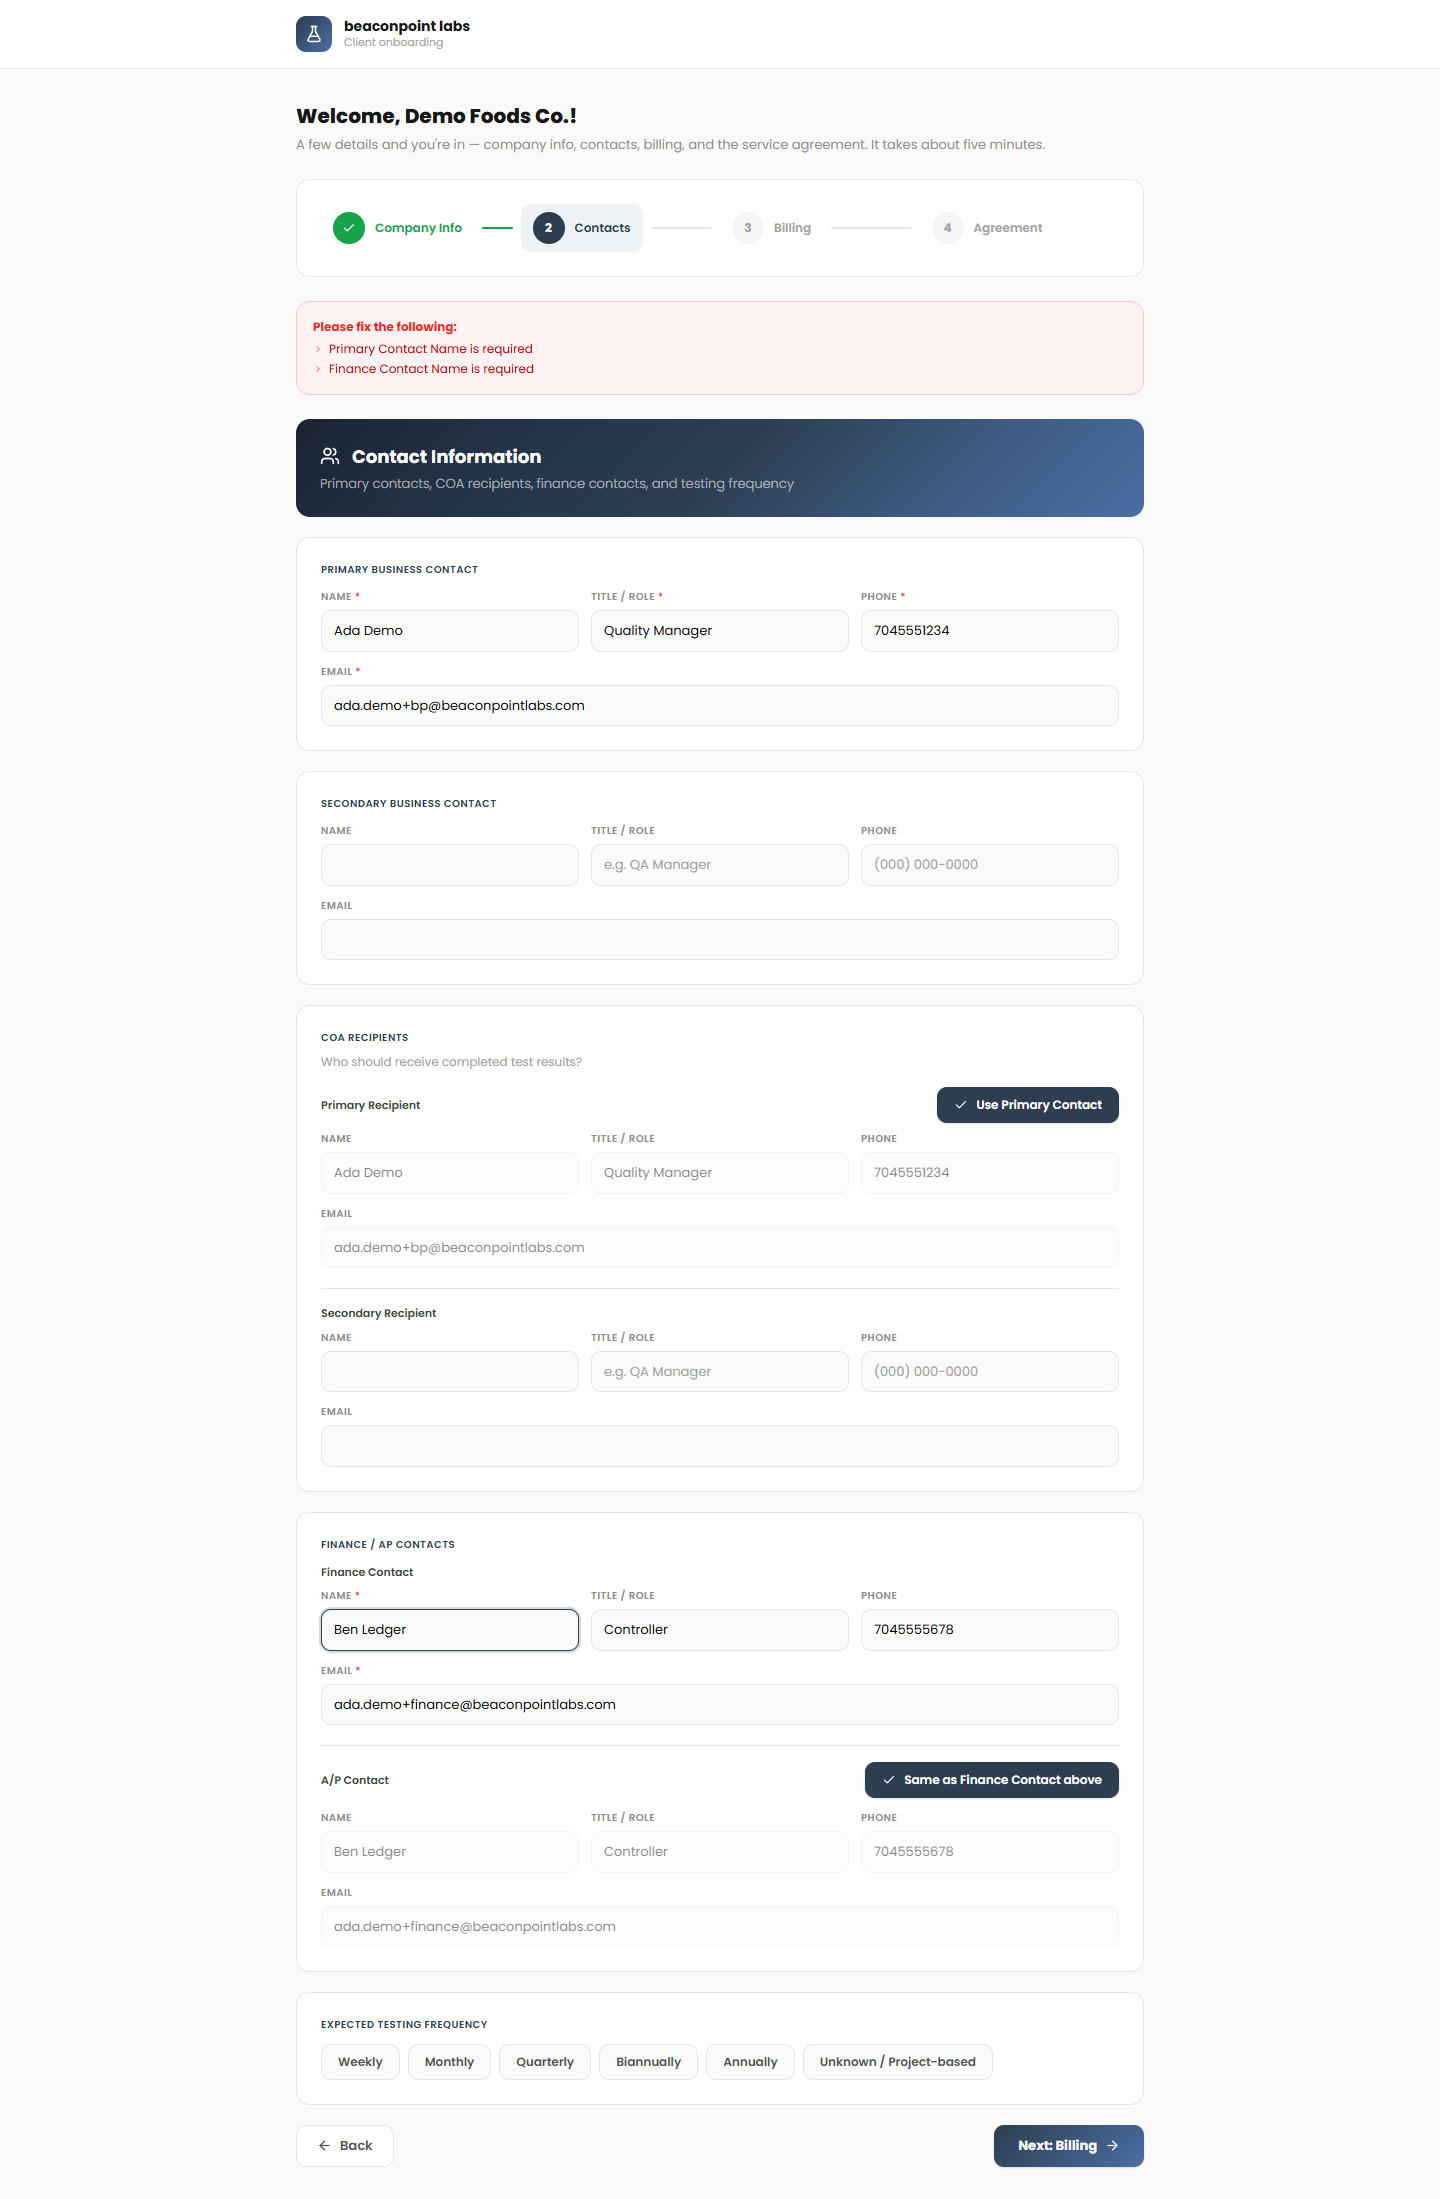
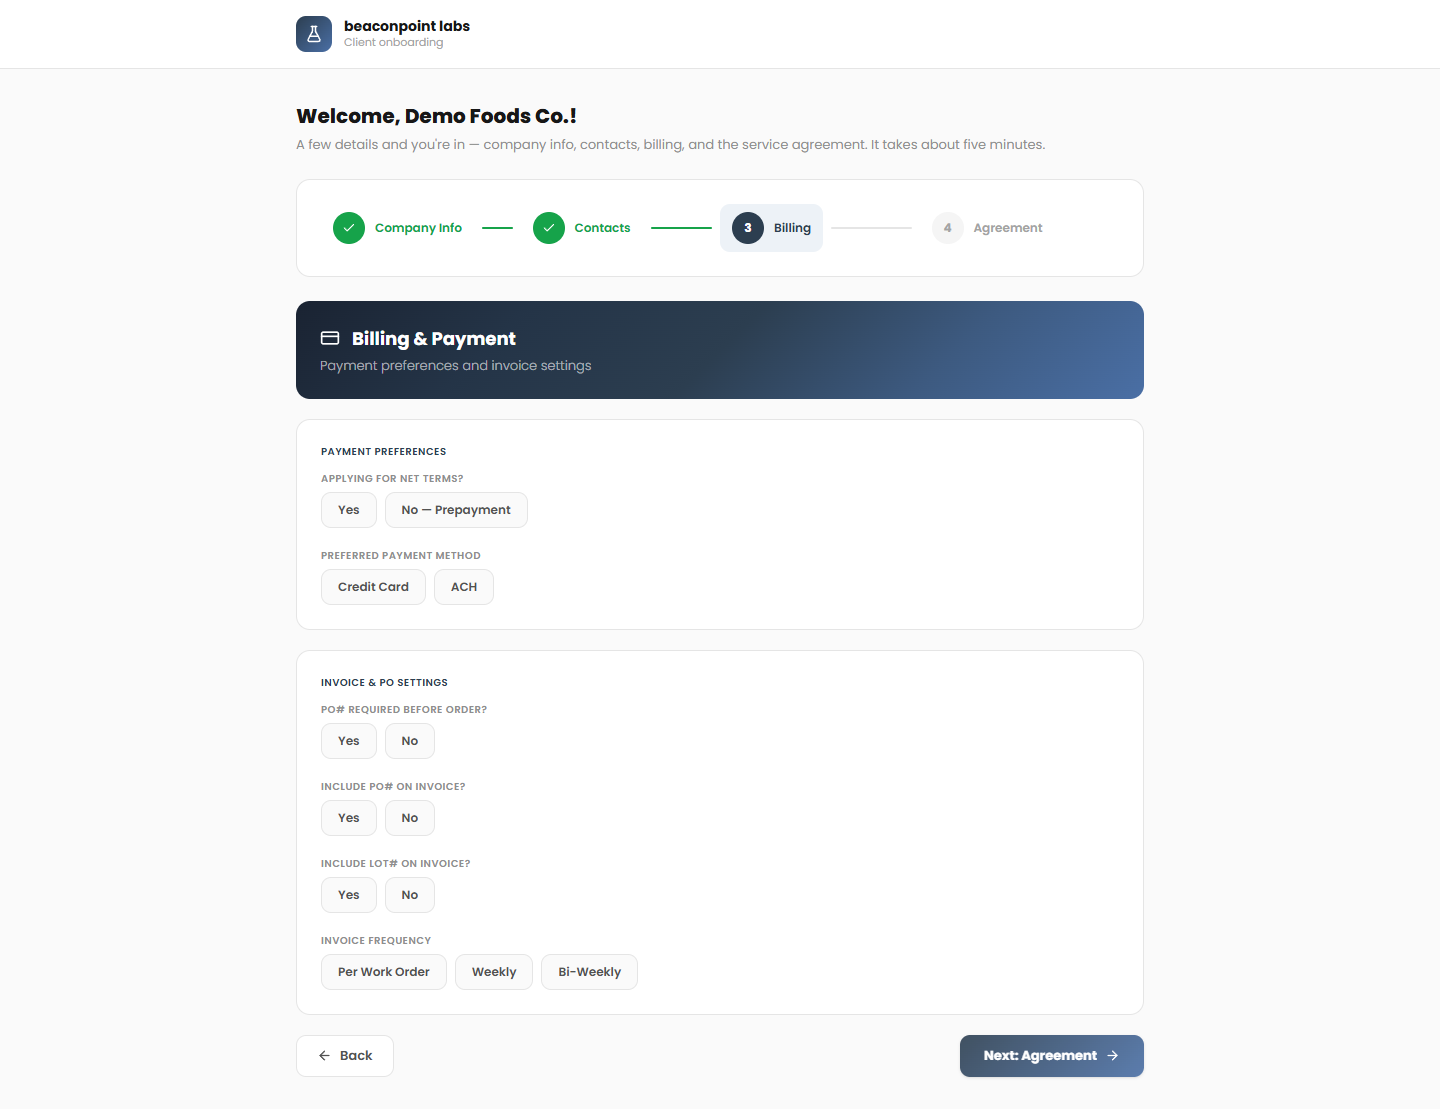
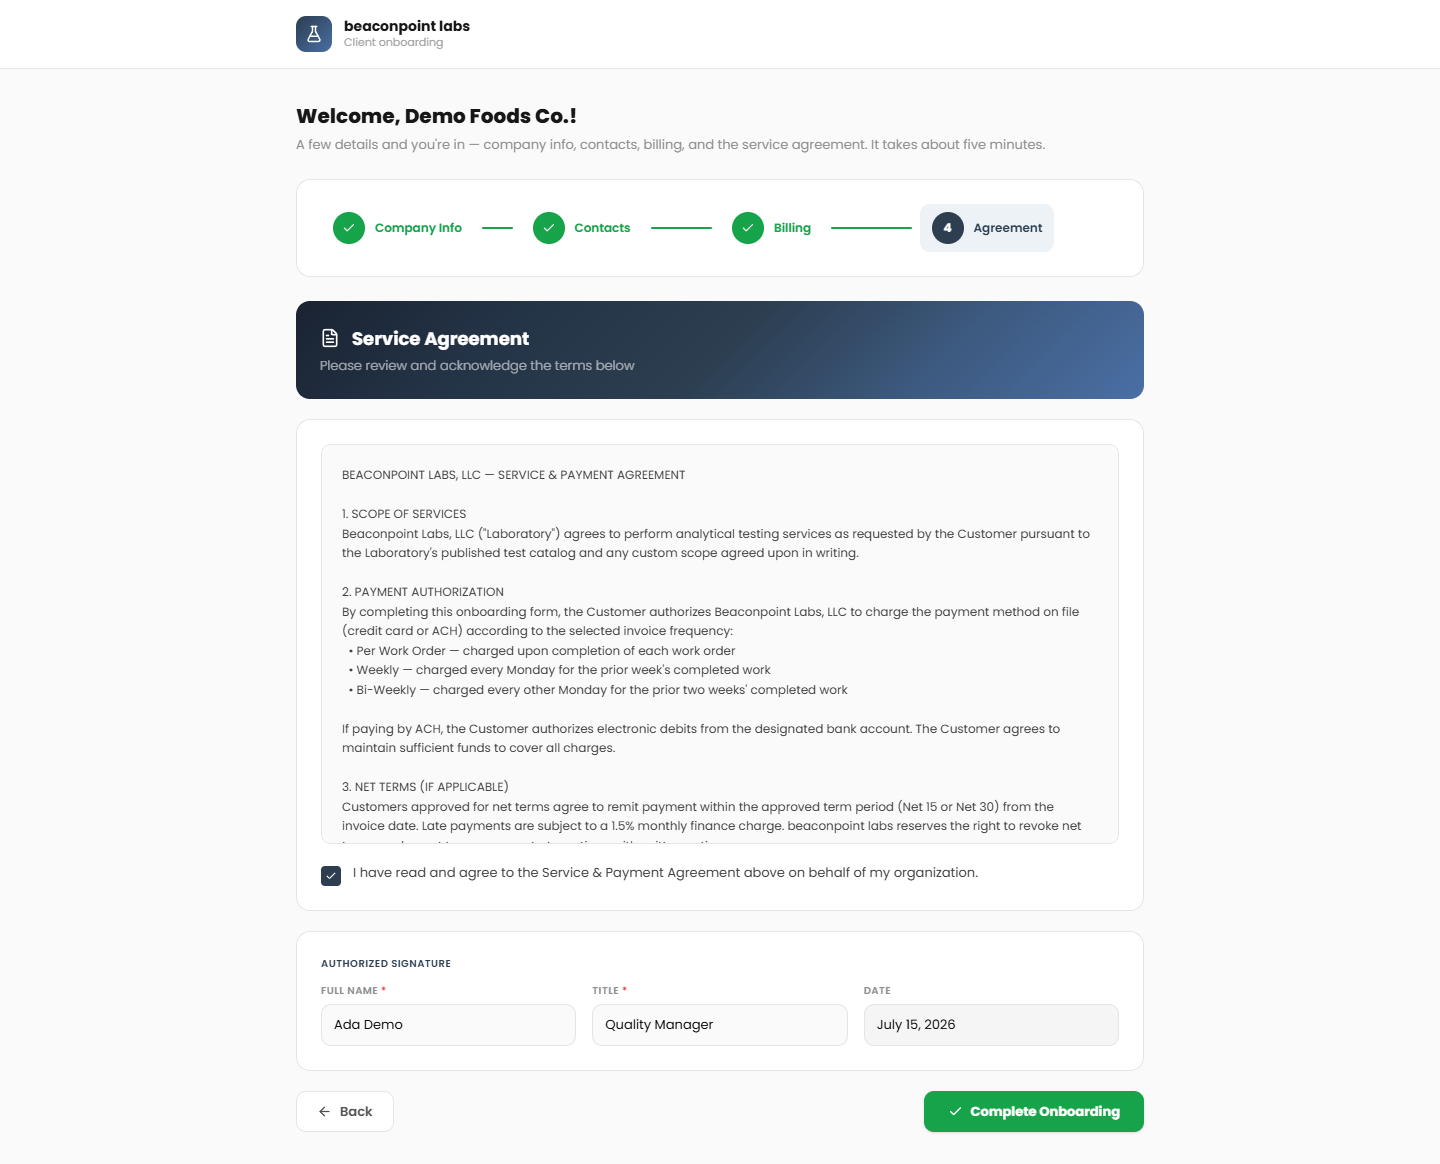
Until a customer finishes these four steps, the portal keeps them on the setup form — they can't reach the dashboard early. This is intentional, so every account starts with complete information.
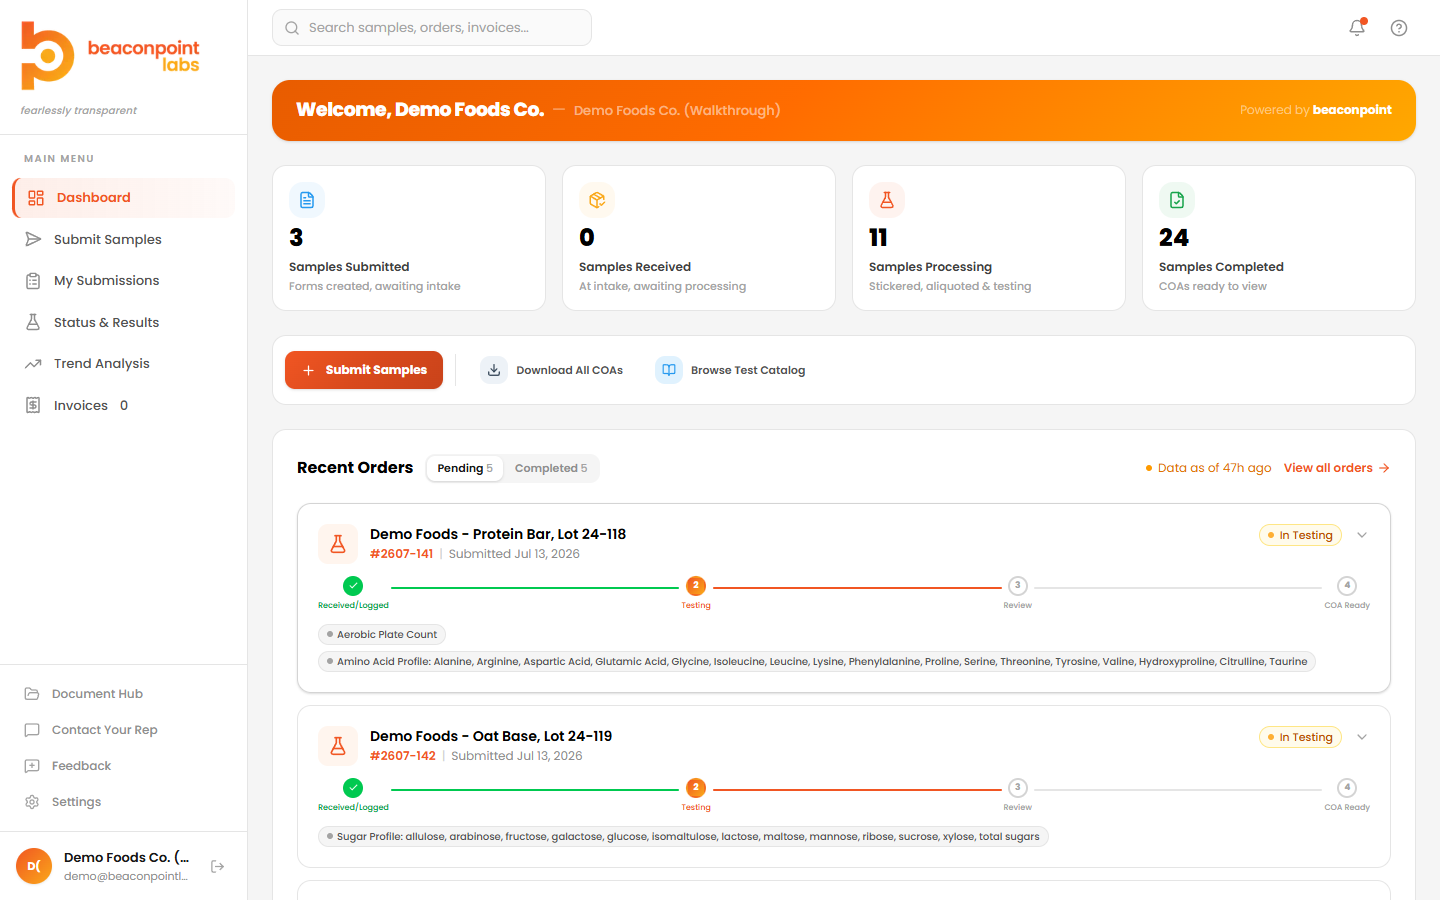
Once they finish, they arrive at their dashboard — the central place for submitting samples, tracking them, and downloading results.
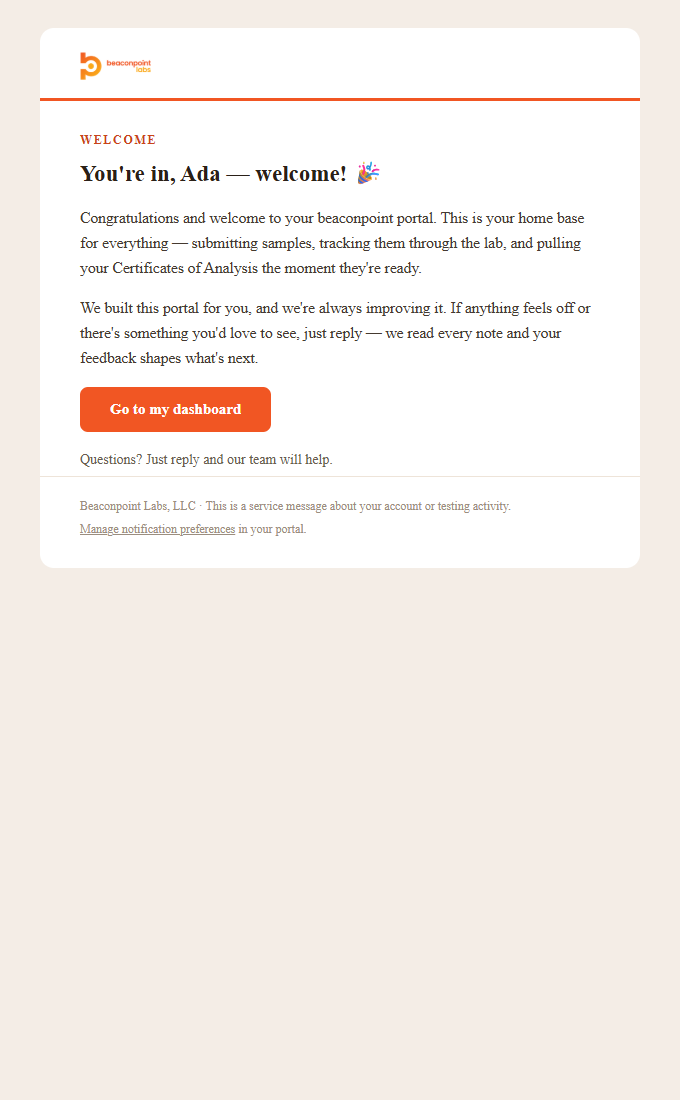
After they reach the dashboard for the first time, the portal sends a single welcome email. Every customer gets this, no matter which path they came through.
A company we haven't worked with before. A member of the beaconpoint team invites them.
They enter the company name and one contact person, then send the invite.
They click the button, set a password, and confirm their account.
The same setup form shown above — starting from a blank form since they're new.
Their account is now active and linked to a new lab record.
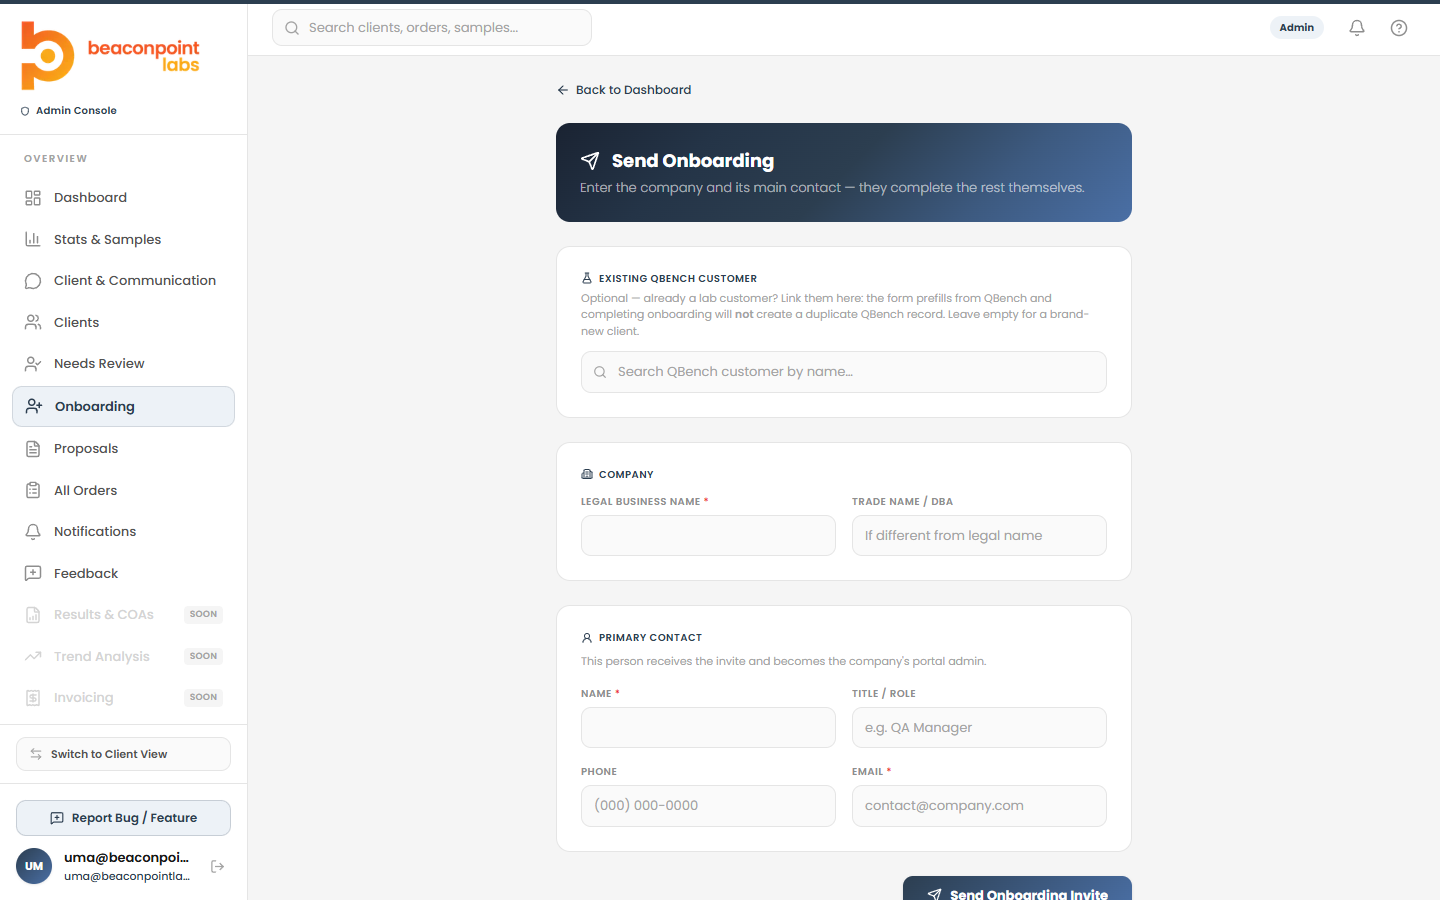
Some companies already send us samples but have never used the portal. Staff can invite them straight from a list of everyone who's in our lab system (QBench) but not yet on the portal. Their setup form arrives already filled in from their lab record — so there's nothing to duplicate.
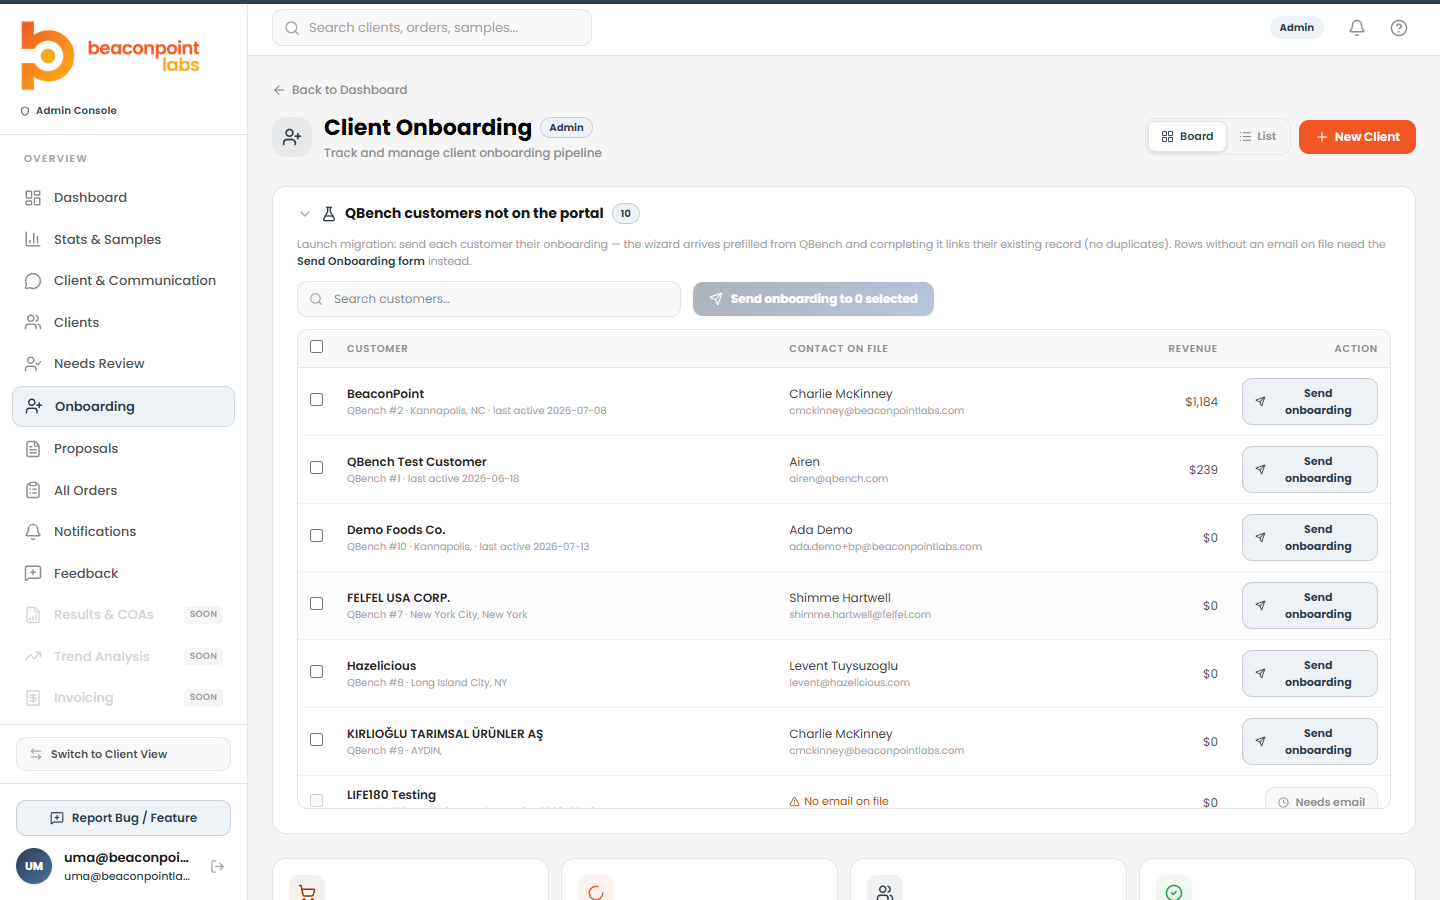
From here it's the exact same 4‑step form — it just starts pre‑filled, and finishing it links their existing lab record instead of creating a new one.
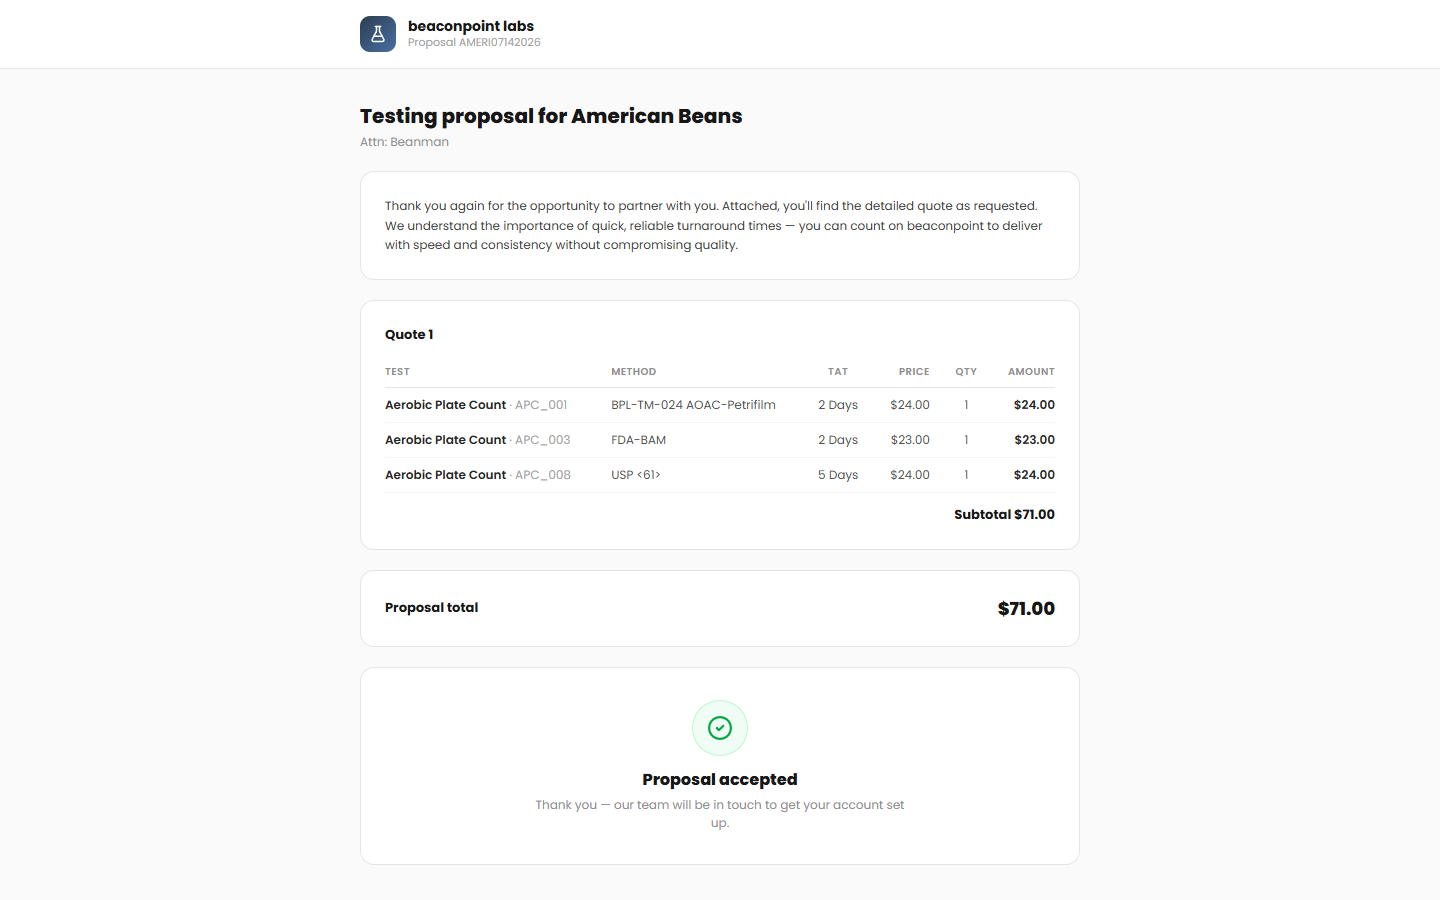
We can send a prospect a price quote (a "proposal") as a private web link — no login needed. When they review it and click accept, setup begins automatically: they get an invite, and then the same 4‑step form (pre‑filled from the quote).
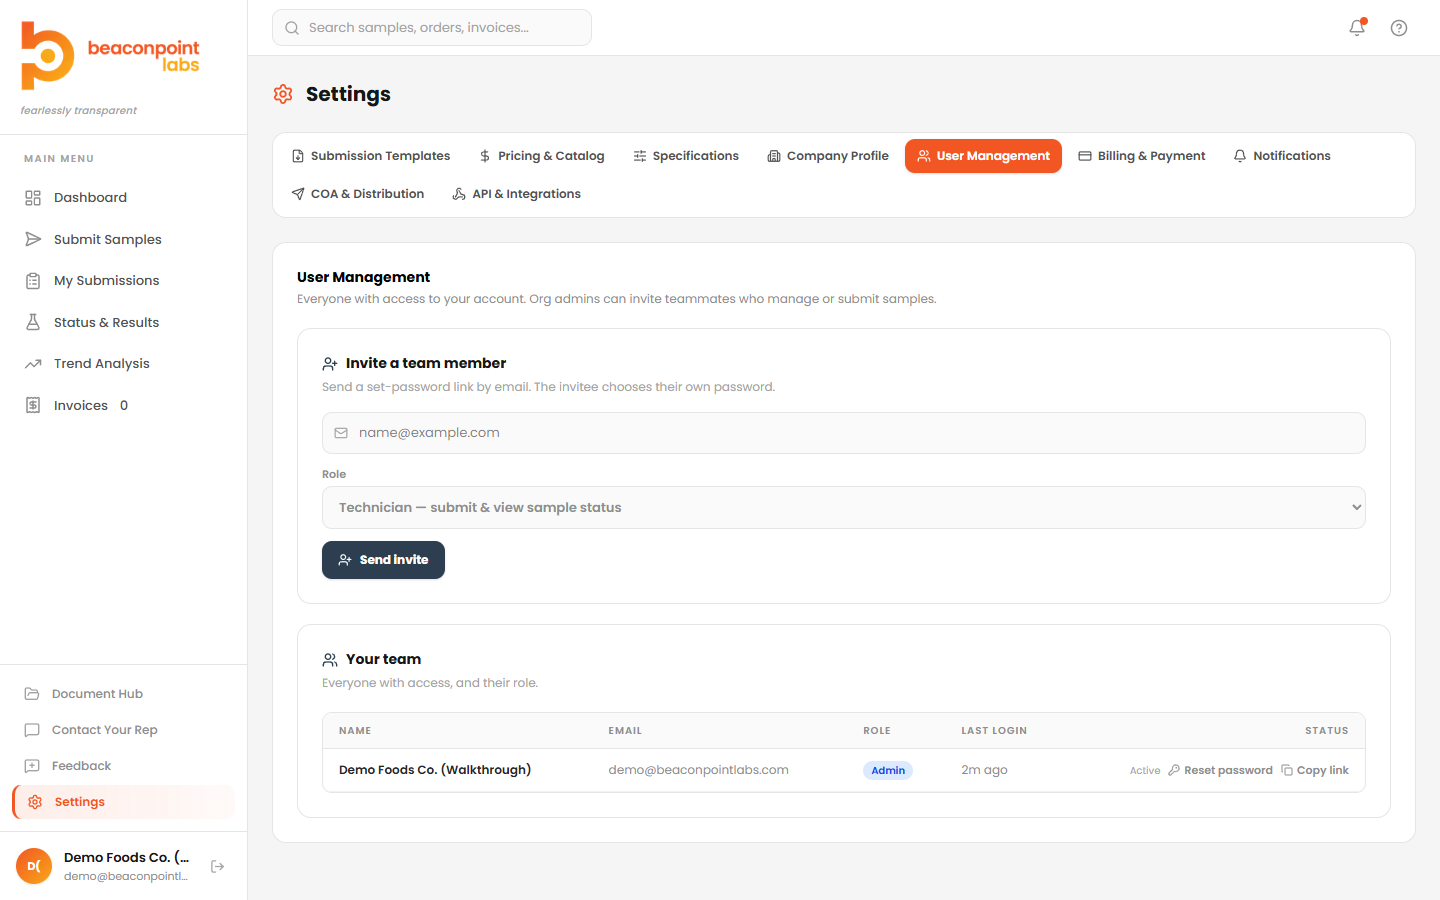
Once a company is set up, their admin can invite coworkers from Settings → User Management. New teammates get the same invite → welcome emails, but they skip the setup form — the company is already onboarded, so there's nothing to fill out again.
When marketing tags a contact in HubSpot, that contact is recorded in our system as a prospect. No email is sent and no account is created — it's a record on our side only. They only become a customer if we later invite them through one of the entry points above.
No email goes out, and no one is invited until a staff member chooses to.
There's an older way where staff fill out the whole 4‑step form themselves to create a customer record. It's rarely used now — the invite‑first paths above have replaced it — and it doesn't send any emails on its own.
Once a customer is set up and their samples are moving through the lab, the portal sends branded email updates at each step, so customers always know where things stand. These are the actual emails, exactly as they arrive.
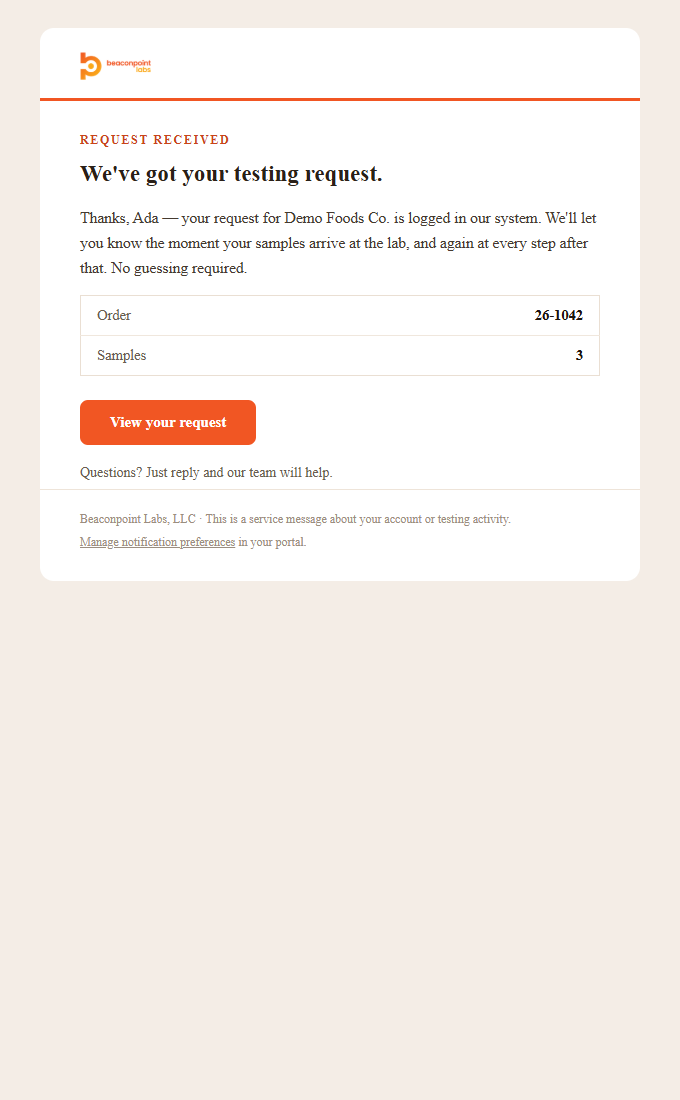
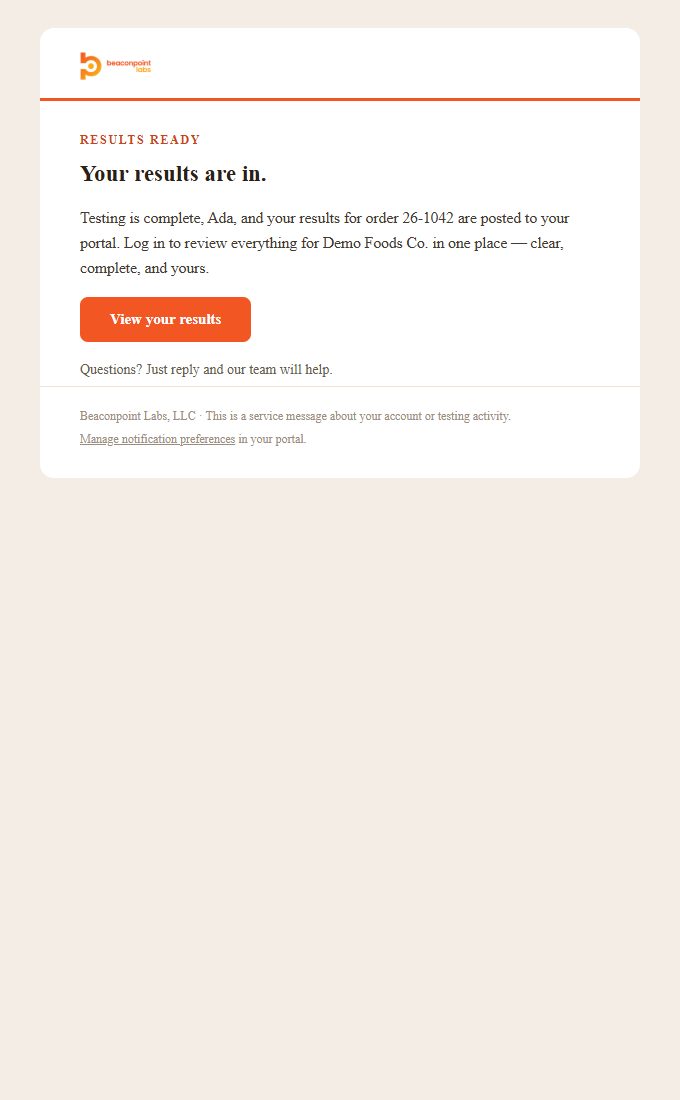
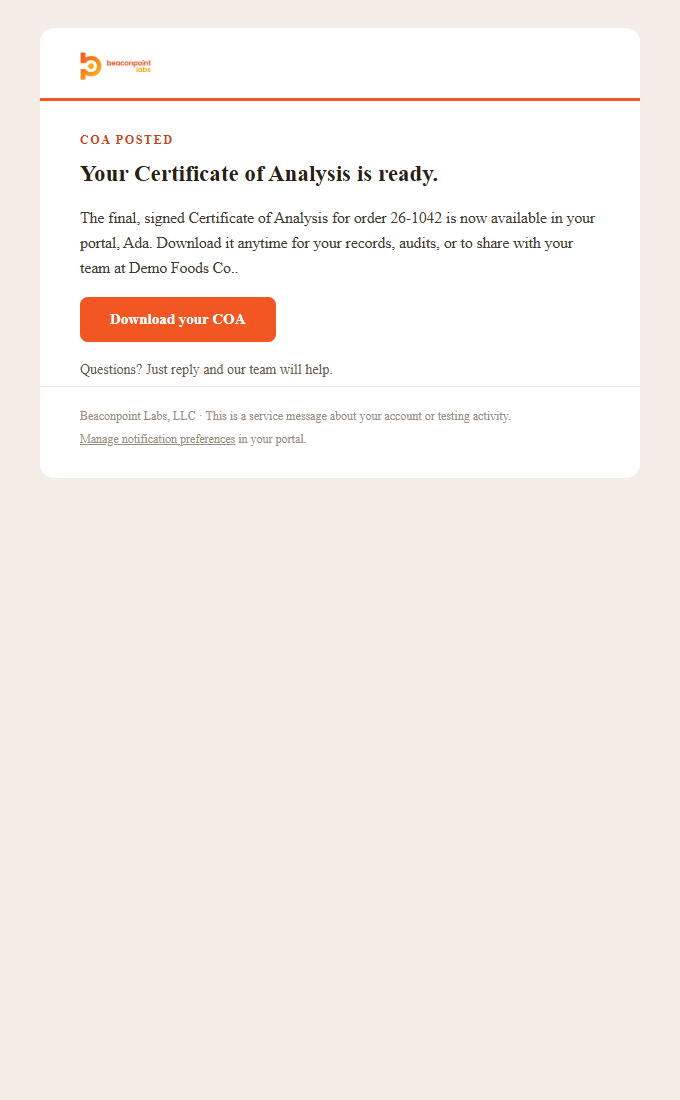
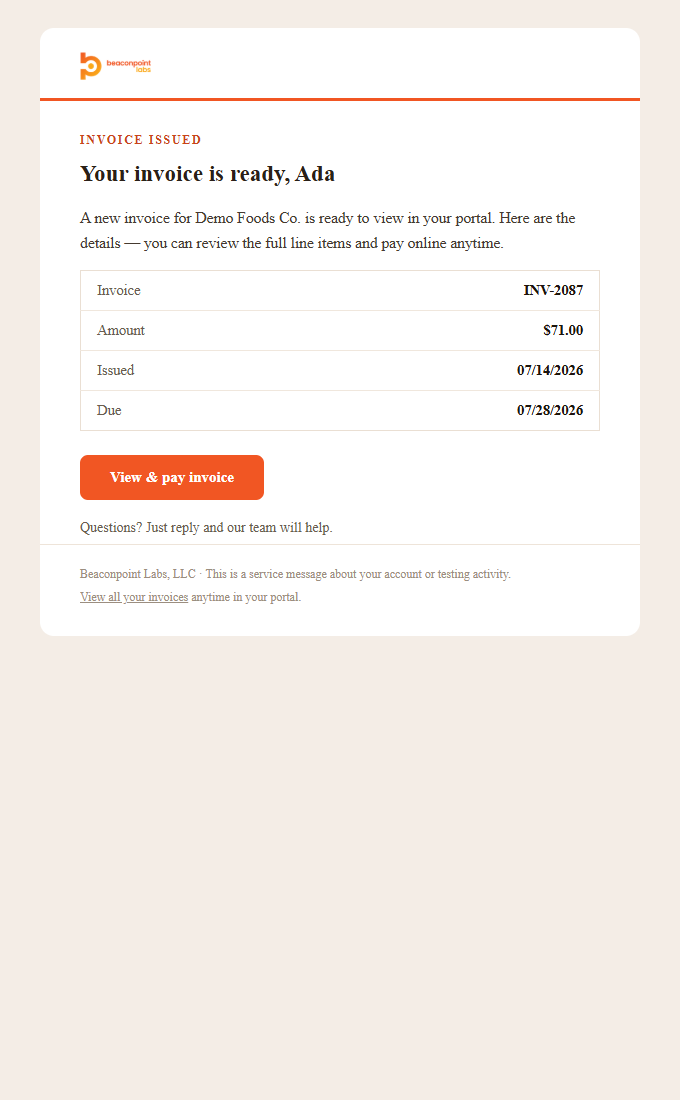
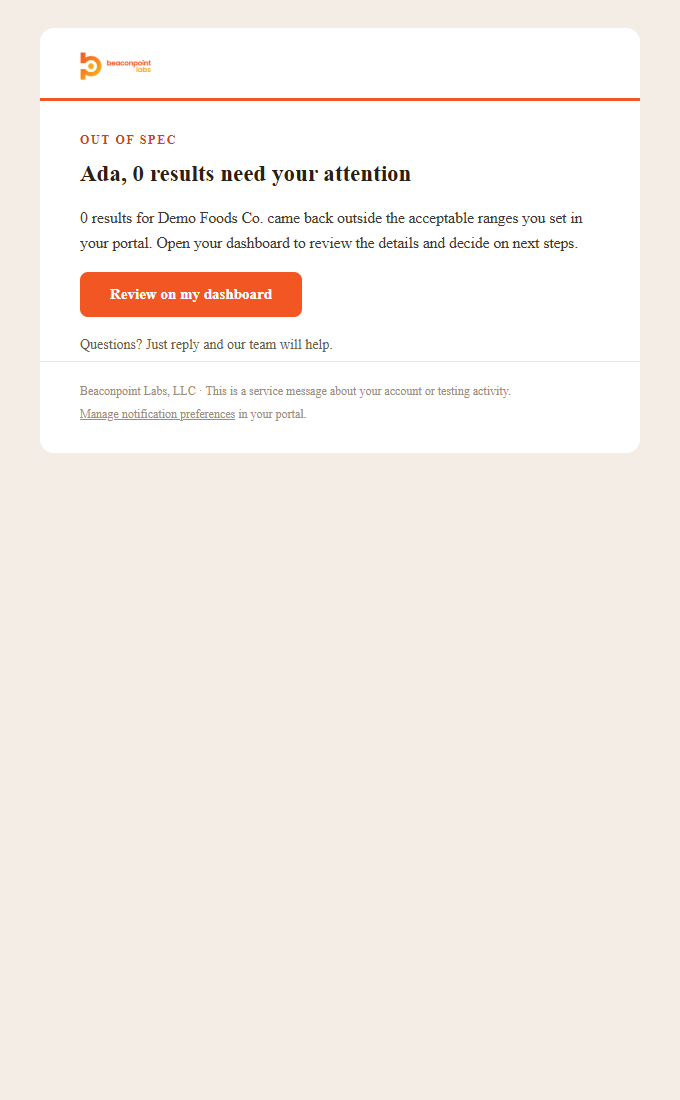
Every one of these emails can be turned on or off per customer in their settings — which brings us to the last piece.
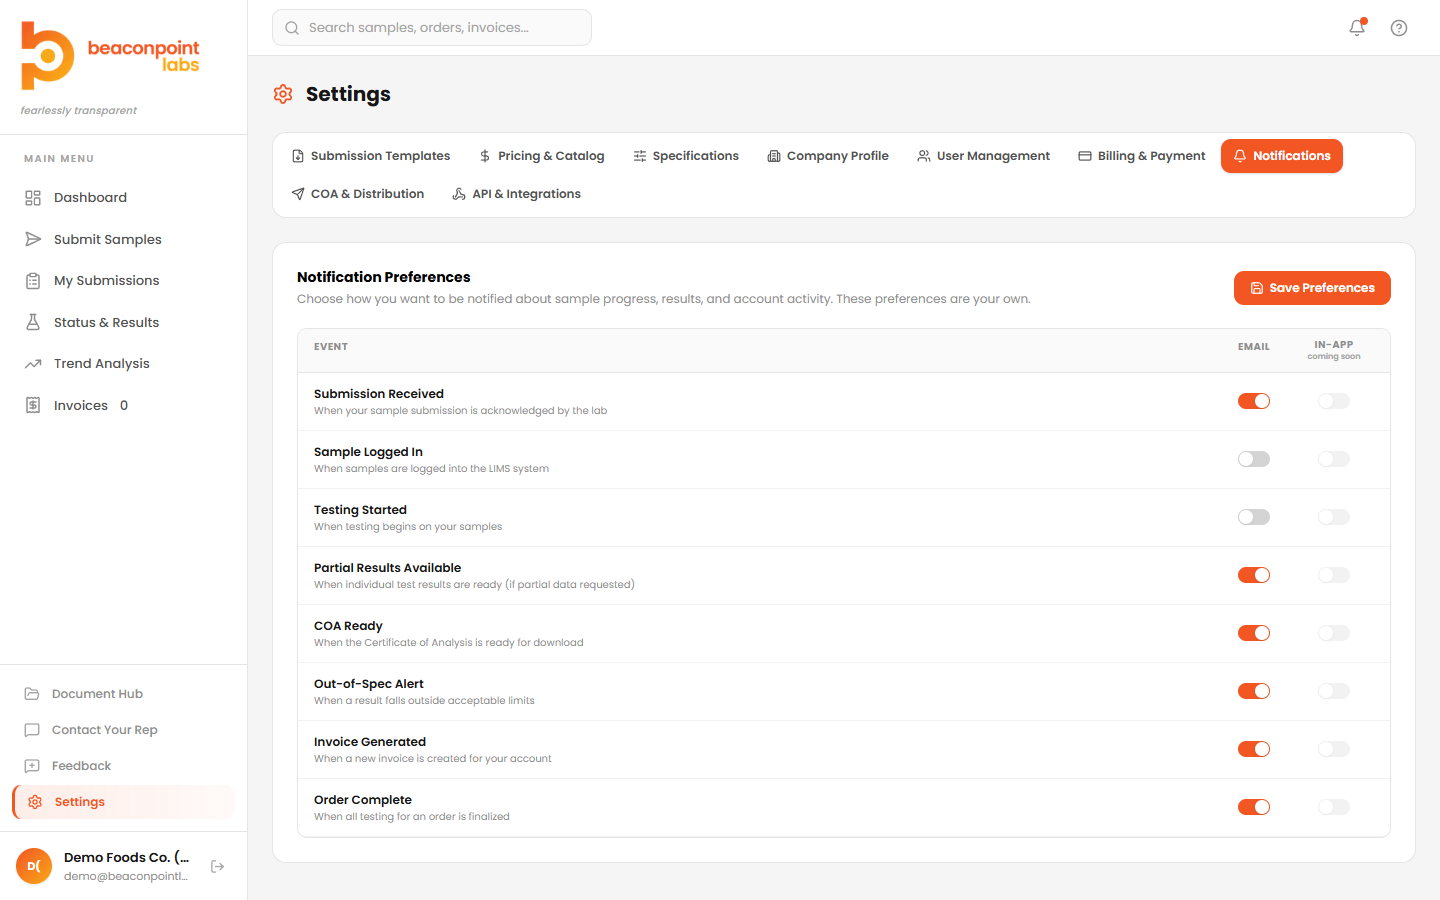
In Settings → Notifications, customers pick which updates they want by email. Most are switched on from the start, so a new customer receives updates by default. Two lower‑priority updates ("Sample Logged In" and "Testing Started") start off. The in‑app bell is marked coming soon — that channel isn't live yet.
Screens and emails change as the product grows. Instead of re‑shooting this guide by hand every time, the plan is to host it at its own address (like guide.beaconpointlabs.com) and have it refresh itself. Here's the idea, in plain terms:
The guide renders each email straight from the same templates the product uses — so an email in the guide is always the real, current one.
A scheduled job logs into a demo account and re‑captures each screen after every release, then swaps the new pictures in.
Each scenario's plain‑English steps come from a simple content file, so updating a step is a one‑line change — no rebuilding the page.
The guide notes which app version it reflects, so anyone reading knows it matches what's live.
This is v1 — a hand‑built, self‑contained snapshot with real screens and real emails captured from the staging environment. The self‑updating version above is the next step.